Bidet toilets are one of the most hygienic ways to clean your body after using the toilet. Bidet toilets are versatile and come in various types, shapes, and sizes. Some of them are incredibly easy to install.
Choosing the type of bidet toilets
The first step to installing a bidet toilet will require you to decide upon the type of bidet you want to use. You will have to consider additional factors like budget, bathroom space, installation process, and whether it fits the toilet bowl. Here are the preliminary steps to follow before installing a bidet:
- Choose from the three popular options of spray, seat, and freestanding bidet.
- Block the water supply to your toilet tank.
- Empty out the toilet tank completely
Remember to keep towels and buckets nearby in case of some spillage of tank water.

Source: Pinterest
Installation of bidet toilet seats
First, you need to use a wrench to remove the old seat from your toilet. You can send the discarded toilet seat for recycling too. Next, thoroughly clean the rim using a new bristled scrubbing brush and toilet cleaner.

Source: Pinterest
Now, fix the bidet seat mounting plate. You can do so by positioning it over the bolt holes you made and then attaching the brackets. Insert the bolts and tighten them to keep them in place. Adjust the new bidet seat onto the mounting plate. Make sure the placement is correct and as needed. The seat will have a dedicated release button. Lastly, press this button to remove the toilet seat from the mounting plate.
Hooking up a bidet water line
Start the process by detaching your toilet’s water supply hose which will be connected at the base of the toilet tank. Now, fix the bidet T-valve to the water supply space at the base of the tank. Next, reattach the water supply hose to the T-valve through the lower connection.

Source: Pinterest
It is now time to fix the new bidet’s supply hose by connecting it to the upper part of the T-valve. Attach the free end of the bidet hose to the bidet seat. Make sure all connections are secure. You also need to employ the shutoff valve to turn on the water supply system.
Warm water lines for bidet toilets
You can also add warm water provisions to your bidet toilet for winters. There are two separate methods for connecting the warm water supply to your new bidet seat. You can use a ‘T’ or ‘Y’ valve and connect the water supply of the tank from your sink which has its own hot water system. However, this is ideal only for non-electric bidet models.

Source: Pinterest
Modern electric bidet models have special features like instant warm water and night light.
- To install this, you need to have an electric outlet nearby. Any electrical outlet in bathrooms and other wet locations should be protected by a ground fault circuit interrupter (GFCI). Any house construction or remodelling after the 1975s will have the electrical circuit GFCI protected. However, it should always be checked for complete assurance.
- The outlet will have buttons named ‘test’ and ‘reset’. A label stating ‘GFCI Protected’ will also be displayed. It is advisable to employ an electrician if you are unsure of the technicalities.
- You have to replace the breaker in the bathroom with a GFCI breaker. Make sure you connect the new outlet with the ‘load’ side of the system’s GFCI outlet. Also, take care that the GFCI outlets are located in unblocked areas and are easy to reach. Do not place it behind the toilet.
Installing a handheld bidet
A hand-held bidet sprayer is easy to install and can be attached to the toilet tank or on a nearby wall.

Source: Pinterest
- Make sure to choose the side more convenient for the bidet users in your house.
- Detach the toilet’s flexible water supply hose from the base of the toilet tank.
- Now, connect the bidet T-valve to the base of the tank.
- Fix and securely connect the water supply hose to the T-valve.
- Next, fix a particular end of the sprayer hose to the other connection of the T-valve.
- Attach the sprayer head and add extensions to the end of the hose not connected to anything.
- You can screw in the holster on the edge of the tank or mount it on the wall.
Make sure the sprayers have the water switched off when you first test the spray. This will save you from uncontrolled bidet spraying.
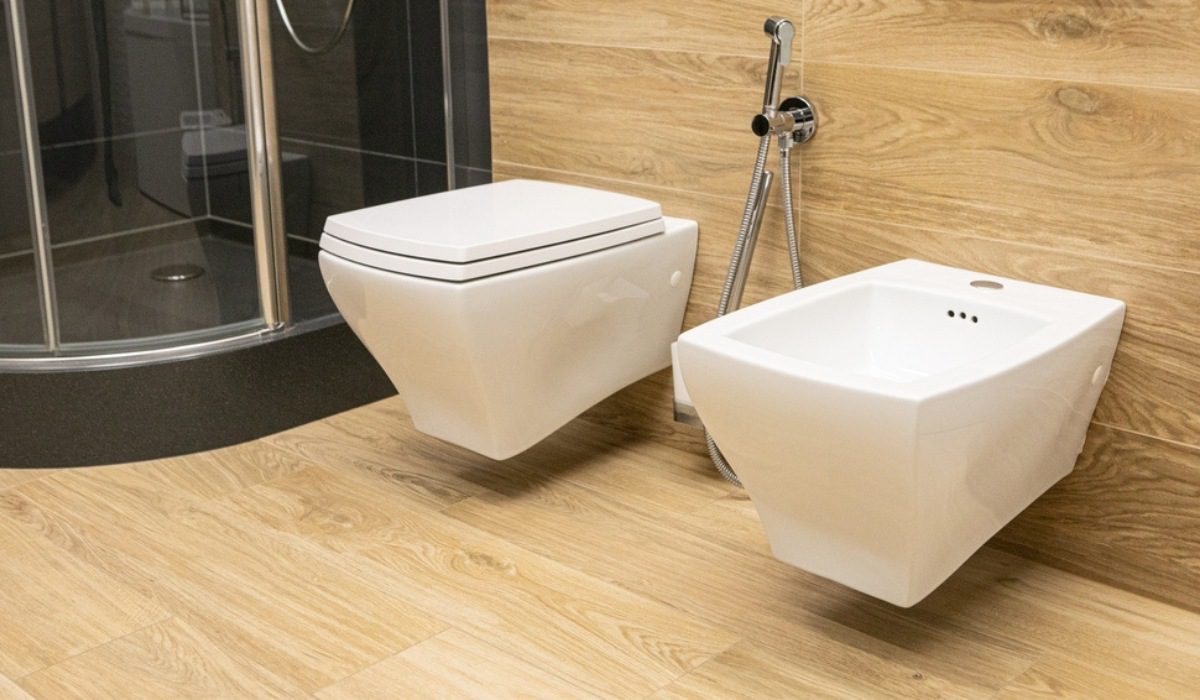
Installing a freestanding bidet toilet
Freestanding bidets are large in size alloys like a normal toilet. If you have a small bathroom with not enough space, avoid having a freestanding bidet. You will also need an existing bidet trap to have a freestanding bidet toilet in your bathroom. Remodelling the toilet with a standard bidet will require professional work and it’s available to avoid DIY in this case.

Source: Pinterest
- Start by assembling the bidet and attaching the drainage fittings with the faucet. You will find detailed instructions in the owner’s manual.
- Make sure to set the bidet alignment with the drainage and water supply lines. Mark the placement of the bolts which will hold down the bidet toilet.
- Drill these marked holes with the help of a power drill.
- Align the bidet and connect all the bolts.
- Remember to use silicone sealant at the base of the bidet toilet, which will secure the toilet like any normal one.
- Finally, end the process by connecting the water supply, shut-off valve and drain.


