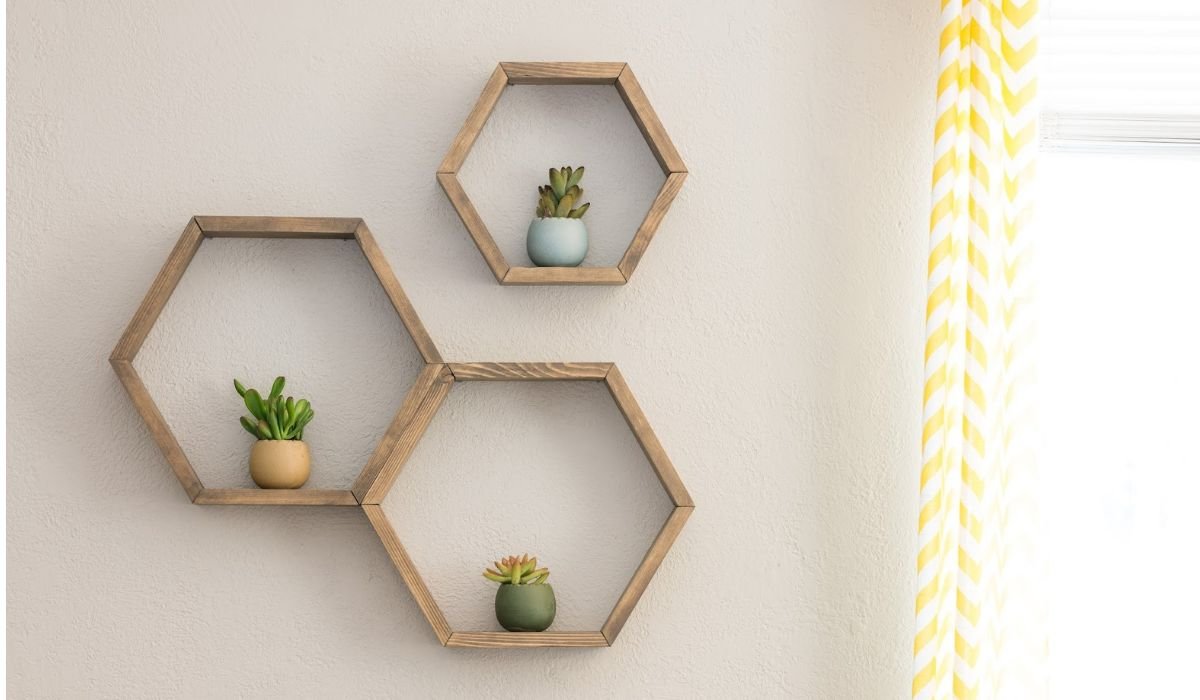
Floating shelves add a touch of modern elegance to any room, offering display space without a bulky look. But store-bought options can be pricey. The good news? DIY floating shelves are surprisingly easy and affordable to create. In this article, you’ll learn the 5 tips to get you started in this project.
See also: Wall Bookshelf Designs Ideas for Your Bedroom.
Pick your style
There are three main methods for DIY floating shelves:
- Hidden brackets: Prefabricated metal brackets slide into a cutout on the back of the shelf and screw into wall studs for a clean look. This is the easiest option for beginners.
- DIY dowel brackets: This method involves creating wooden brackets with dowels that fit into pre-drilled holes in the shelf. It offers more customisation but requires some woodworking skill.
- Pocket hole hack: Pocket hole joinery allows you to create a hidden bracket system within the shelf itself. This is the most advanced method but eliminates any visible hardware.
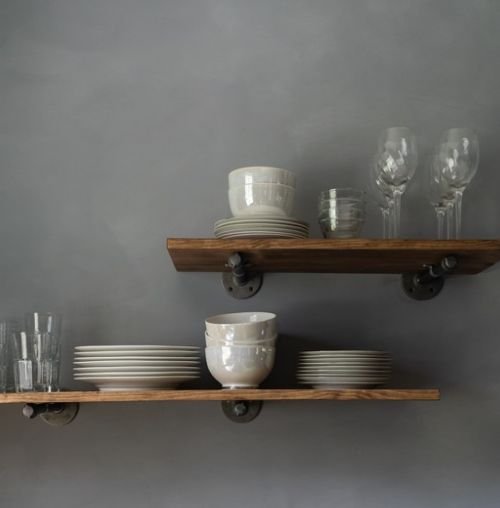
Choose your materials
- Wood: Select strong, straight lumber like pine or plywood. Consider the weight you’ll be displaying and choose a thickness accordingly.
- Brackets (hidden or DIY): Opt for hidden brackets with a weight capacity that suits your needs. For DIY dowel brackets, use hardwood dowels and lumber for the brackets themselves.
- Hardware: You’ll need screws, anchors (for non-stud mounting), wood glue (for some methods) and sandpaper.
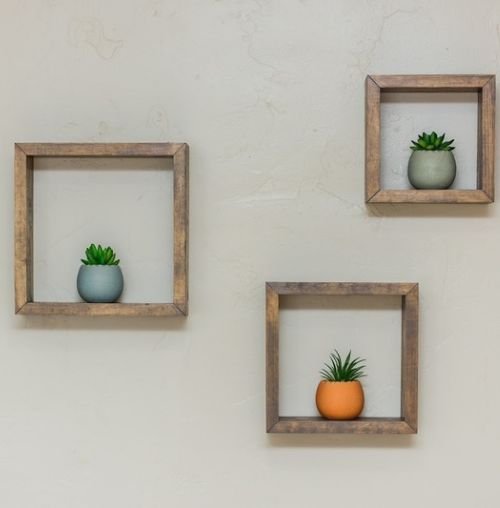
Measure twice, cut once
- Shelf length and depth: Consider the space you have and what you’ll be displaying.
- Bracket placement: Mark stud locations on your wall. If using hidden brackets, refer to their installation guide for precise placement.

Cutting and assembling
- Cutting: Use a saw with a fine-tooth blade for clean cuts. A mitre saw is ideal for precise angles (optional for some methods).
- Assembly: Depending on your chosen method, this might involve drilling holes for dowels, creating pocket holes or attaching hidden brackets. Wood glue adds strength in some methods.
- Finishing: Sand the entire shelf and brackets for a smooth finish. Apply paint, stain or a clear sealant for aesthetics and protection.
Mounting magic
- Pre-drill: Use a level to mark screw placements on your wall. Pre-drill holes to prevent splitting, especially if using drywall anchors.
- Mounting: Secure the brackets to the wall according to your chosen method. Finally, hang the shelf on the brackets and ensure it’s level and secure.
Bonus tip
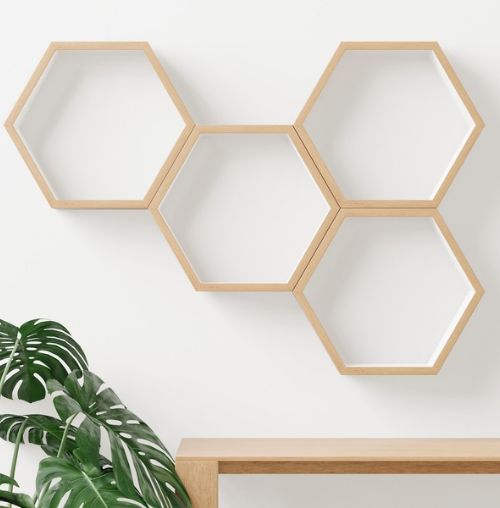
For added visual interest, consider using different shelf depths or staggering them on the wall.
With a little planning and these tips, you can create beautiful and functional DIY floating shelves that add personality and storage to your space.
FAQs
What's the weight limit for DIY floating shelves?
This depends on the materials, design and mounting method. For hidden brackets, always check the weight capacity of the brackets themselves. For DIY dowel or pocket hole shelves, consider the wood type and thickness. Opt for hardwoods and thicker shelves for heavier items.
Can I use floating shelves in my bathroom?
While possible, it's not ideal for areas with constant moisture. Standard wood can warp or swell over time. Consider using moisture-resistant materials like pressure-treated lumber or sealed plywood. Ensure proper ventilation in the bathroom to minimise moisture build-up.
What tools do I need for DIY floating shelves?
The tools required will depend on your chosen method. Some essentials include drill and drill bits, sandpaper, screwdriver, level, clamps etc.
Do I need to find studs in the wall to hang my shelves?
While ideal, it's not always necessary. Hidden brackets often come with drywall anchors that allow for secure mounting without hitting studs. However, for heavier shelves or if you're unsure about the weight capacity of your method, finding studs for additional support is recommended. There are stud finders available to help locate them in your walls.
How can I hide any imperfections on my DIY shelves?
Wood filler can be used to fill minor gaps or imperfections before sanding and painting/staining. For larger gaps or uneven cuts, consider adding a decorative trim piece to the front edge of the shelf to hide them.
What's the best way to paint or stain my floating shelves?
Apply multiple thin coats of paint or stain for a smooth, even finish. Sand lightly between coats for better adhesion. Consider using a primer for bare wood, especially if using paint, to ensure even coverage and prevent wood stain from bleeding through.
Is there anything else I should consider before building my shelves?
Think about the overall look you're going for. Will the shelves be purely functional or do you want them to be a design statement? Consider the style of your room and choose a wood type, stain or paint colour that complements your existing decor.
| Got any questions or point of view on our article? We would love to hear from you. Write to our Editor-in-Chief Jhumur Ghosh at jhumur.ghosh1@housing.com |
