Expensive flooring, such as tile flooring or wooden flooring, can be prone to damage with exposure to water. Waterproofing helps protect the surface from water, as well as stains. Further, it ensures easy maintenance of the floor. You can consider waterproofing the floor in your bathroom and kitchen and can save on costly repair work.
See also: How to clean floor tiles effectively?
Floor waterproofing materials
It is commonly believed that bathroom floors are made with waterproof materials. However, this may not be true. Although flooring materials, such as tile and linoleum can withstand temporary water damage, everyday exposure to water can have an impact on the material. For example, water may seep inside the tile grout, making the surface less water-resistant over time. One can consider installing waterproof cement backer board between the flooring and substrate. Alternatively, installing ceramic tile is an excellent option for the floor, as well as walls and backsplashes.
Floor waterproofing: Procedure
Prepare the floor
Before waterproofing a wooden floor, use medium-grit sandpaper to sand the floor. This will help remove any scratches, stains, or dents. Cleaning the floor is an important step. You can vacuum-clean or sweep the floor. Make sure the room has proper ventilation when waterproofing floors.

Prime the floor
Depending on the type of floor, choose an appropriate floor primer. You can even opt for a multi-surface floor primer. Take the primer in a paint roller tray. Now, evenly apply the primer on the floor with the help of a paint roller. Apply primer to walls to the height of half a foot from the floor. In the bathroom shower recess, apply the primer on the wall till about six feet. Let the primer dry for around four hours.

Seal gaps with silicone
Once the primer has completely dried, fill gaps and cracks between the floor and the wall with the help of a caulk gun and silicone seal. This will prevent cracks and gaps from attracting moisture. Allow the silicone to fully dry for 24 hours.

Apply tape on walls
In the next step, apply masking tape around the wall at the point where you want to waterproof. The tape will be the reference point as it will provide a clean line of waterproofing, and you can peel it off later. For waterproofing the shower recess, masking tape should have a height of 1.8 metre.

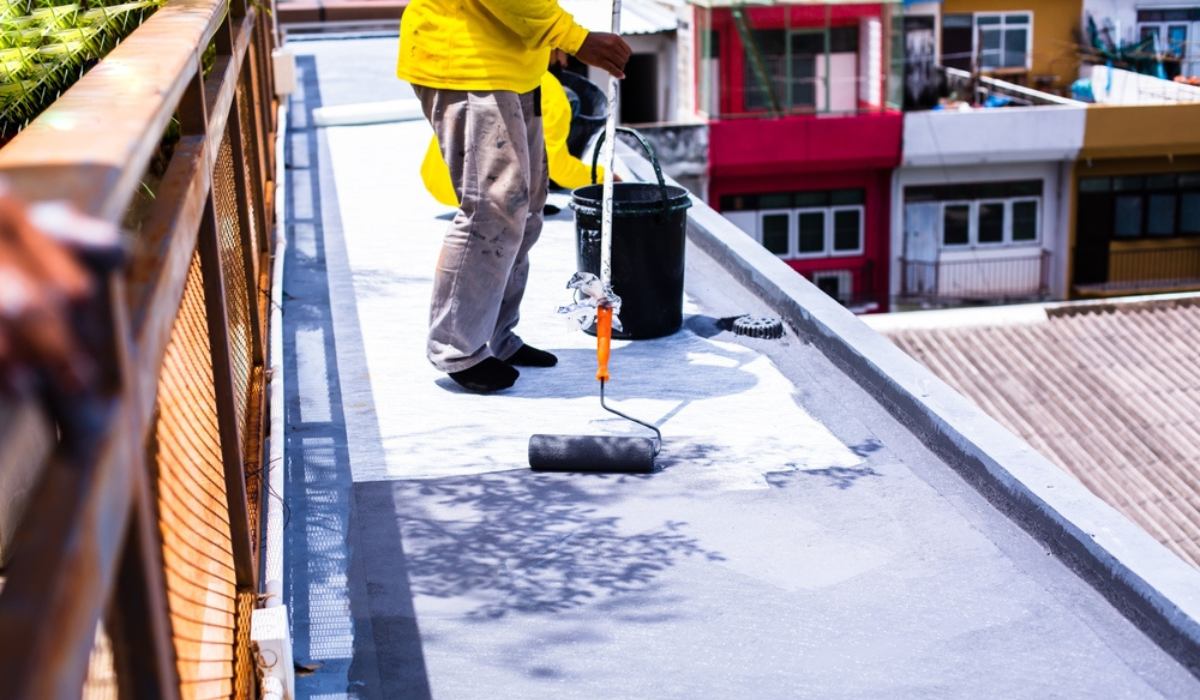
Apply waterproofing sealer
Take the waterproofing sealer in a paint tray and apply one coat using a paint roller or a sponge mop. Make sure to apply it to the height of the masking tape. Start from the back corner of the room and gradually work outwards towards the door. For hardwood flooring, choose an oil or water-based urethane waterproofing sealer and apply it using a wool mop.

Apply waterproof membrane to joints
Go for a waterproofing membrane for the foundation before laying down new flooring. Cut the waterproof membrane strips into the desired lengths. This is essential as the waterproofing membrane protects against water that comes from above and below the foundation. Lay the waterproofing membrane in a way that one half is on the wall and the other half on the floor, covering the cracks. Now, apply the waterproofing agent over the membrane. Allow the surface to completely dry for 24 hours.
Apply waterproofing sealer again
Apply a second coat of the waterproofing agent after the first coat has dried. Allow the surface to dry for another 24 hours. Then, remove the masking tape from the walls.
Water-resistant flooring options
- Tiles such as porcelain tile is an excellent choice for areas, such as kitchens, bathrooms, and laundry rooms. However, make sure to seal the grout is sealed or apply a waterproofing agent.
- Vinyl flooring is manufactured using waterproof materials and it can withstand water damage. When installing vinyl floating floor, make sure to waterproof the subfloor.
- Laminate flooring is a popular flooring option as the surface is sealed through a lamination process that makes it resistant to moisture, spills, and scratches.
- Hardwood flooring is generally prone to damage when exposed to water and humidity. Certain types of hardwood can have high water resistance. Choose engineered hardwood flooring over solid hardwood and protect it using a waterproofing sealer.
FAQs
Can I waterproof my bathroom floor?
You can apply a waterproofing sealer to the bathroom floor.
Do you waterproof a concrete floor?
As water can damage the concrete floor over time, it is essential to waterproof it using concrete sealers.
What is the most waterproof type of flooring?
Luxury vinyl or ceramic tile flooring is an excellent choice due to their water-resistant properties.
How long does waterproofing last?
Waterproofing membranes applied on the flooring can last for 10 years or more.
What can we mix with cement to make it waterproof?
You can add a waterproofing agent such as acrylics, latex, and silicones to the cement mix.
What happens if it rains after waterproofing?
If it rains immediately after waterproofing the floor, the water can affect the coating. A silicone elastomeric coating provides waterproofing protection for brick, stucco, and concrete surfaces when exposed to rain.
What is the best time to do water waterproofing?
Waterproofing should be done in dry weather. One should go for waterproofing during the rainy season.
| Got any questions or point of view on our article? We would love to hear from you. Write to our Editor-in-Chief Jhumur Ghosh at jhumur.ghosh1@housing.com |


