You can take a few pieces of wood and make a wide range of items for your home, from furniture to decorations. Whether you are a professional or someone who likes to make wooden stuff for their spaces, knowing the proper technique to give a proper wooden finish is important as it adds to the overall appeal of your projects. In this article, we are going to help you out by listing some special techniques that would provide a better finishing to your DIY wood projects.
Source: Pinterest
See also: How to clean wooden floors?
Wooden finish: Importance
Contrary to popular belief, finishing wood not only adds to its beauty but also has functional purposes. Finished wood is more resistant to moisture, sun rays and other daily wear and tear. You can choose from the several types of finishes available such as oil-based finishes, water-based finishes, etc. They all serve different purposes and have unique pros and cons.
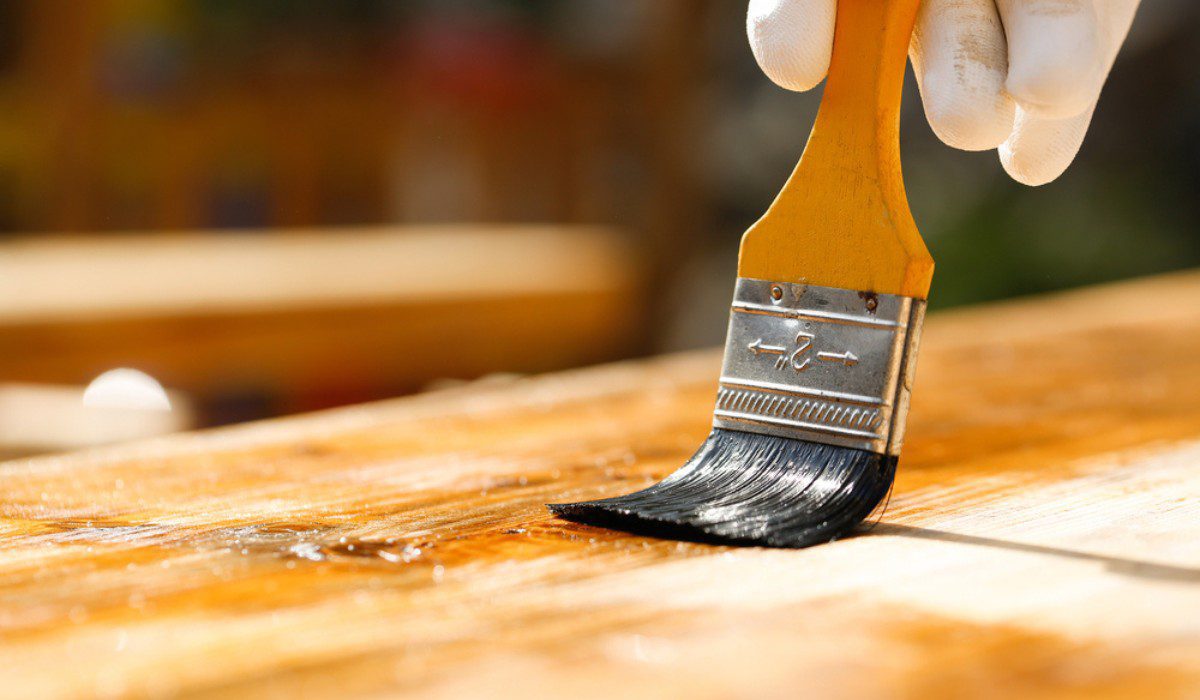
Wooden finish: How to finish wood?
Source: Pinterest (WOOD Magazine)
Prepare the surface
The first step is to prepare the surface of the wood. Take sandpaper and start by sanding the wood. This helps remove all the stubborn dirt and smoothens the surface while also opening up the pores on the surface so it can absorb the finish properly.
Choose the right finish
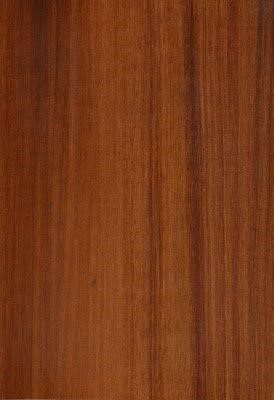
There are several types of finishes. Oil-based finishes such as linseed oil provide a warmer look to the wood while enhancing its natural colour. Water-based finishes have less odour and dry quickly, which makes them suitable for quick DIY projects. For better durability and strength, varnishes are used.
Application techniques
You can choose to apply finishes with the help of a brush, wipe, rub it or spray it on the wood. These techniques depend on the type of finish you want. For example, if you desire an even application, you can use a brush, but if you wish to apply the finish on a smaller project, you can use a wipe.
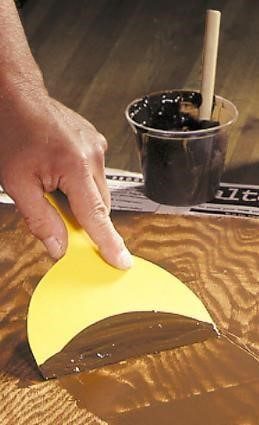
Apply the stain
If you want to change the colour of the wood, you can apply a stain before you start the finishing process. There are some wood stains that look natural and make the wood look newer. You can choose a stain according to your preference.
Start sealing and coating
It is important to apply a sealing coat before finishing, especially on woods that have porous surfaces. Sealing enhances the wood finishing even more and adds protection as well as shine to your wood.
Sand between several coats
A sandpaper is an important tool as it helps make the wood become smooth and provides a flawless finish. Sanding gently between several coats ensures that the wood has no imperfections and a smooth, shining surface.
Buff and polish
After you have applied all the coats, buff the surface with steel wool to make the surface even more shiny. This also creates a softer look.
Final protective coat
The last step is to use the final coat, which protects the wood from sun damage, daily wear and tear as well as moisture. You can use clear wax as a final coat.
Wooden finish: Some tips and tricks for beginners
- Different types of finishes react with different types of woods differently, so it is best to test the finish on a small surface first, and if you like the results, then apply it to the entire project.
- The application method varies for different types of finishes, so it’s better to read instructions before starting.
- Always wear proper safety gear, such as masks and gloves. Inhaling the fumes emitted by finishes can be dangerous for your health.
- Work in a clean environment and make sure there is no dust, as it can ruin the finishing of the wood.
FAQs
How should I choose the right finish for my wood?
The type of wood mainly decides the type of finish you should use. You can research different types of finishes and choose the one that suits your project the best.
What if I don’t like the colour of my wood?
You can change the colour of your wood with the help of a wood stain. Apply the stain before the finish.
Is it necessary to use sandpaper?
Although not necessary, sandpaper helps provide a better finish as it smoothens the surface.
How many coats of the finish should I apply?
You should apply several coats to ensure maximum protection and shine.
What to do if the finishing of the wood got damaged in small patches?
You can either choose to sand the entire wood and apply finish to the overall surface, or you can sand patches and apply finishing only on the patches.
| Got any questions or point of view on our article? We would love to hear from you. Write to our Editor-in-Chief Jhumur Ghosh at jhumur.ghosh1@housing.com |


