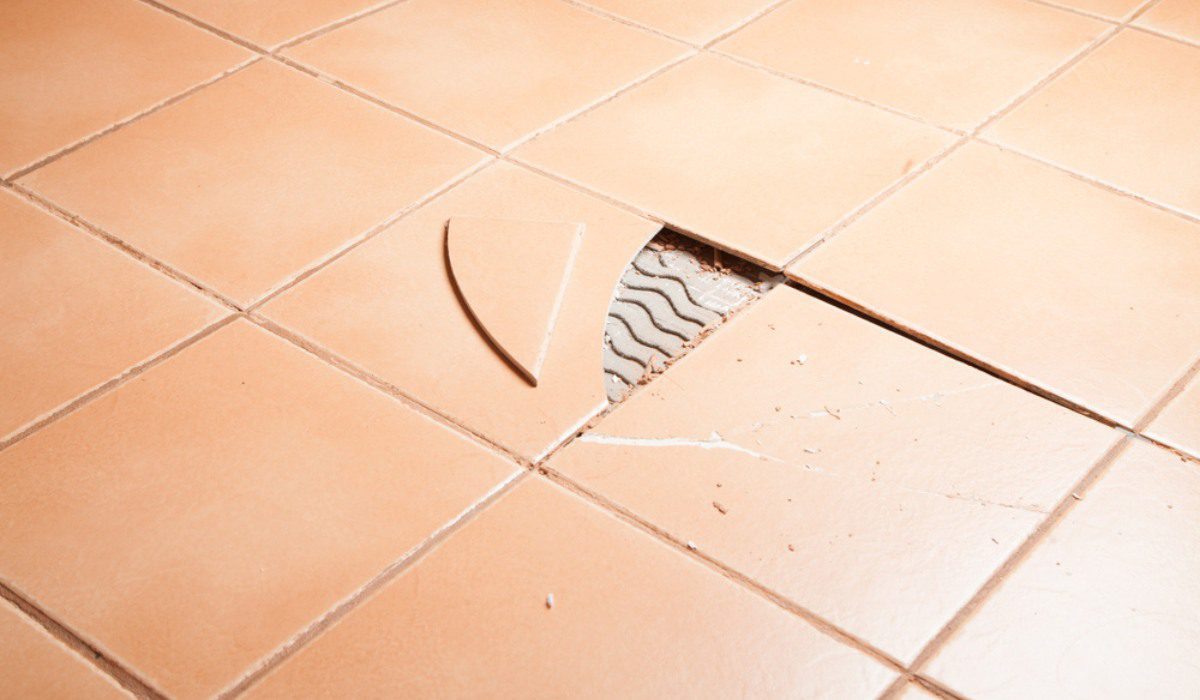
In addition to its unappealing appearance, a broken floor tile serves as a potential pathway for moisture to infiltrate the subfloor. The possibility of water seeping behind a cracked wall tile, especially in areas like showers and baths, is a major cause for concern. To mitigate the risk of water-related issues, particularly in moisture-prone areas like bathrooms, addressing broken tiles promptly is essential. This guide provides insights into the right way of repairing broken tiles. While minor hairline cracks may be patchable, large breaks require the removal and replacement of the damaged tile.
See also: How to lay tiles?
How to repair tiles with minor cracks?
For minor cracks, you can perform a repair using epoxy and paint, eliminating the need for a complete tile replacement. Here’s a step-by-step guide on how to fix cracked tile:
- Clean the damaged tile and its surroundings, removing any debris from the crack. Utilise tile cleaner, or dish detergent to eliminate grease and dust.
- Wipe the tile, using a cloth and ensure it is thoroughly dry.
- Employ clear epoxy, adhering to the manufacturer’s mixing instructions if required.
- Place a small quantity of epoxy on a piece of cardboard.
- Carefully apply the epoxy directly into the crack. For a hairline crack, use a toothpick; for a wider crack, opt for a craft stick.
- Employ a craft stick’s flat edge to level the epoxy across the crack. Remove any excess epoxy from the tile surface.
- Give the epoxy time to cure in line with the package instructions.
- Apply a little bit of oil or urethane-based paint that matches the tile’s colour onto the dried epoxy. Use precise strokes with a fine crafting paintbrush. Give it ample time to dry completely. The drying duration can vary, ranging from a few hours to over a day. Refer to the product instructions for specific dry times.
- Brush urethane sealer on the painted patch to prevent it from peeling. Allow it to dry thoroughly.
How to fix broken tiles?
If the crack is too extensive to be adequately repaired using epoxy, you might need replace the broken tile. The process of tile replacement is relatively uncomplicated. Just follow these steps.
Remove the broken tile

- Ensure your safety by wearing protective goggles to prevent dust from entering your eyes. As broken tiles can have sharp edges that pose a risk to your hands, don sturdy work gloves when handling them.
- For added cleanliness, lay a dust sheet in the work area to contain any debris.
- Utilise a handheld grout saw around the periphery of the cracked tile to gently remove the grout. This step safeguards neighbouring tiles from potential harm.
- Once the grout is entirely removed from the vicinity of the broken tile, place a drop cloth over it.
- Use a hammer to tap the cracked tile firmly, causing it to break into smaller fragments.
- With caution, extract these fragments, employing a chisel to delicately pry them from the adhesive that secured the tile in place.
- Subsequently, use a hammer and chisel to meticulously remove the previous adhesive from the floor. Avoid damaging the backer board or the subfloor during this process.
- Employ a wet/dry vacuum to effectively clear away any debris and dust, ensuring a smooth and level surface in the now vacant area.
Set the new tile

- To set the new tile in position, opt for pre-mixed thin-set mortar for a strong bond.
- Apply the mortar onto the exposed floor surface using a 1/4-inch notched trowel’s flat edge.
- Create ridges in the adhesive by running the trowel’s notched edge over the applied thin set.
- Gently lower the new tile into place while ensuring it remains flat and parallel to the ground. Placing one edge first can disrupt the adhesive’s even layer.
- Align the tile’s edges with those of adjacent tiles and exert even pressure to secure it in place.
- Allow the mortar to cure as per the instructions on the packaging. The usual curing time is around 24 hours, although fast-drying variants may set within a couple of hours.
Apply grout

- For smaller tasks, such as replacing a broken tile, opt for pre-mixed grout.
- Thoroughly stir the grout to eliminate settling and make the material more manageable for application.
- Employ a grout float to work the grout into the seam. Prevent grout removal by moving the float diagonally across the seam, instead of following the gaps surrounding the tile.
- After approximately 15 minutes, use a damp sponge to wipe off any excess grout from the tile surface.
- Wait for a few hours and then use a clean, dry cloth to buff the tile.
- Refrain from exerting pressure on the new tile for at least 24 hours.
- Once the grout is completely dry, apply a grout sealant to safeguard against water damage and limit potential future staining.
FAQs
Why is it important to repair broken tiles?
A broken tile not only adversely affects the aesthetics of your home but also provides an entry point for moisture, which can cause damage to the subfloor. Timely repair helps prevent water damage and costly repairs down the road.
Can minor cracks in tiles be repaired without replacement?
Yes, minor cracks can be repaired without replacing the entire tile. You can use epoxy and paint to fix hairline cracks.
What safety precautions should be taken when repairing broken tiles?
When handling broken tiles, wear safety goggles to protect your eyes from dust and sharp edges. Utilise heavy work gloves to safeguard your hands. Placing a dust sheet around the work area helps contain debris and maintain cleanliness.
Can I use pre-mixed grout for small tile replacement tasks?
Yes, for minor tasks like replacing a broken tile, pre-mixed grout can be used.
| Got any questions or point of view on our article? We would love to hear from you. Write to our Editor-in-Chief Jhumur Ghosh at jhumur.ghosh1@housing.com |