In bathrooms and kitchens, a sink serves a functional as well as an aesthetic purpose. Nowadays, there are lots of designs and styles to choose from; however, one timeless and aesthetically appealing style is the undermount sink, which is set up inside the countertop. Not only does it serve a functional purpose, but it also adds a modern and elegant look to your kitchen or bathroom. If you do not have an undermount sink in your home, but you wish to get one installed, you don’t have to call a professional to do this easy job for you. Discover how easy installing an undermount sink in your kitchen or bathroom is.

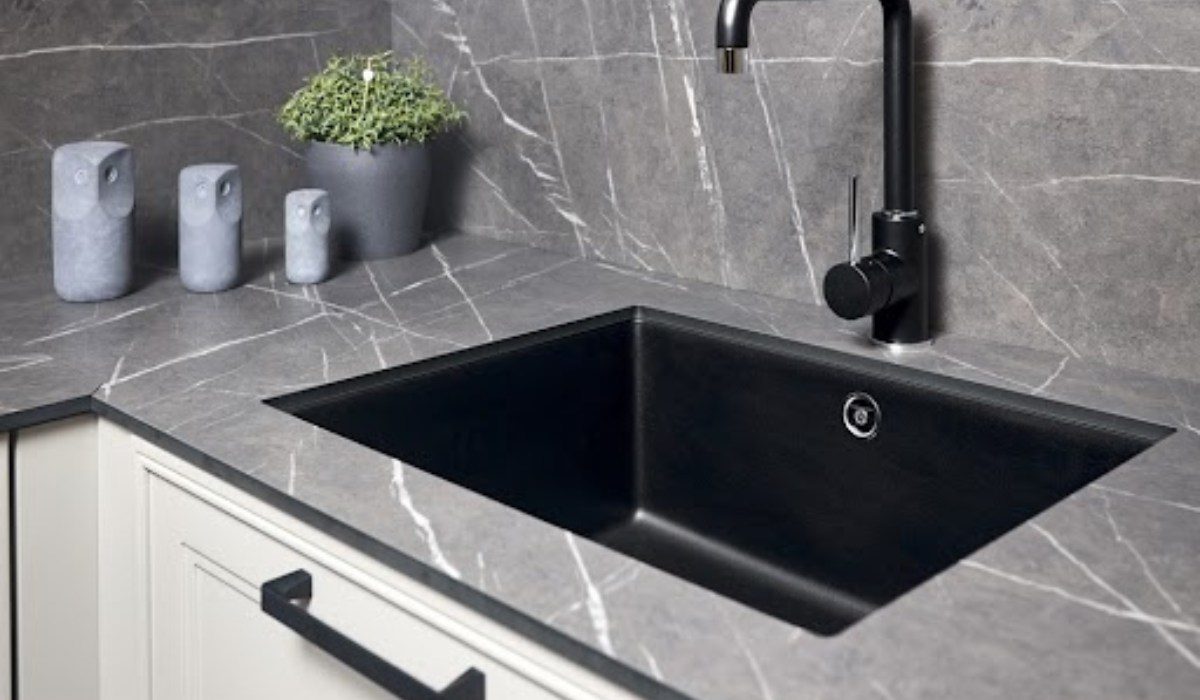
Source: Pinterest (Lemon Thistle)
How to install undermount sink?
Gather the essentials you need
Here’s a list of necessary tools and materials that you need to gather before starting with the undermount sink installation process:
- An undermount sink
- Countertop template
- Drill and drill bits
- Screwdriver
- Adjustable wrench
- Caulk
- Epoxy adhesive
- Masking tape
- Clamps
- Towels to clean
Prep first
First, place the undermount sink upside down to prevent damaging the surface. Then, place the sink template over the countertop and make sure it is well aligned. With the help of a masking tape, mark a layout to help you during the cutting process. Drill one pilot hole near every corner of this marked layout.
Start cutting the countertop
Using a jigsaw to cut a countertop makes the process easier. You can attach a fine blade and cut the countertop along the layout that you created. Be slow and steady, and make sure you don’t make any mistakes. You can also use sandpaper to smoothen the edges and achieve a more finished look.
Apply epoxy adhesive
Apply a good amount of epoxy adhesive at the rim of the sink once you flip it back to its original position. Make sure you apply the adhesive generously. Now position the sink in the cutout and gently press it down to make sure it is secured in its position.
Secure the sink
To make the sink stay in place, place clams along the rim and below the countertop. These help secure it properly. You can clean excessive adhesive once you’re done.
Sink clips
Sink clips add extra support to the sink. You need to attach them below the countertop with the help of screws to ensure more security.
Use silicone caulk
Caulking is necessary as it helps fill in the gaps and creates a watertight seal. Once the adhesive dries completely, apply silicone caulk along the edges of the sink. This also adds a cleaner touch to the sink. You can use a caulking gun and putty knife to apply caulking evenly.
Connect the plumbing
Now comes the main part, i.e. the functional purpose of the sink. First, clean the sink thoroughly and then attach the drainage pipes and other components. You can refer to the user manual that comes with the sink for better instructions. Also, install the P-trap and secure everything properly.
Check for leakages
Turn the tap on and check for leakages, and if there are any, fix the pipes and other components once again. As the final step, you can wipe off the extra caulk or adhesive with a towel and clean the sink before using it.
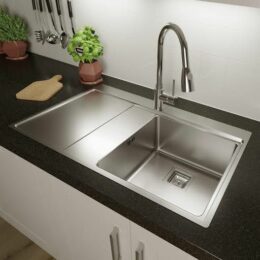
Source: Pinterest (PlumbWorld)
Installing undermount sink: Tips and tricks
- Be precise and slow while cutting the countertop. Make sure you don’t end up making any mistakes.
- Use a good quality epoxy adhesive that stands the test of time.
- Apply the caulking evenly to ensure that there is no water leakage.
- Make sure the sink is level and aligned properly.
- Always leave a small gap between the sink and countertop to avoid putting way too much stress on the adhesive.
FAQs
Can I install an undermount sink in any type of countertop?
Generally, undermount sinks are suitable for several types of countertops, but it is best to ask a professional to be sure.
Can I use a normal saw to make the cuts?
It is best if you use a jigsaw or a circular saw as they help in making precise cuts easily.
Is it necessary to attach sink clips?
No, it is not at all necessary to attach sink clips. If your sink came with sink clips, then you should attach it. Some sinks can be secured with the help of an epoxy adhesive only.
How should I clean the excessive epoxy adhesive?
You can use a wet towel to clean the excessive epoxy adhesive.
Can I start using the sink immediately after I install it?
It is better to wait for the epoxy adhesive to dry completely before you start using the sink.
Is it easy to install undermount sinks?
Installing undermount kitchen sinks can be more complex compared to drop-in sinks, as they require a different installation process.
Which is preferable, a top-mount or undermount sink?
The absence of a visible rim in undermount sinks makes it notably easier to clean your countertops, allowing you to sweep debris directly into the sink. However, top-mount sinks are generally simpler to clean in terms of the sink itself.
| Got any questions or point of view on our article? We would love to hear from you. Write to our Editor-in-Chief Jhumur Ghosh at jhumur.ghosh1@housing.com |


