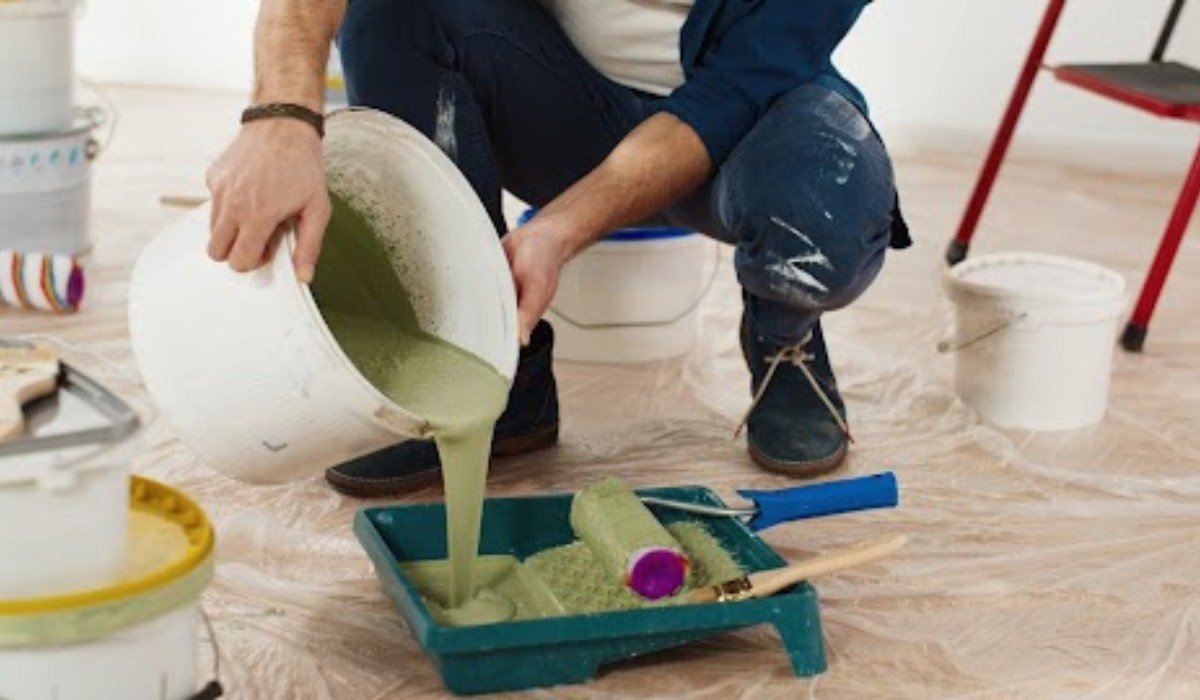
Painting your room gives it a refreshing and new look, but some preparation must be done for a smooth and long-lasting finish. Proper preparation ensures that the walls are smooth and free of imperfections. Preparing a room includes removing the furniture, cleaning the walls, filling in any cracks or holes, priming the walls and trims and taping the walls. Once this is completed, the painting process can begin.
See also: 10 popular Asian Paints colour codes
Why is painting prep necessary?
- No imperfections: Painting your wall over holes, bumps, and cracks will make it look uneven and unprofessional. Filling these imperfections allows the paint to adhere to the surface evenly, thus reducing the chances of peeling or flaking over time.
- Smooth finish: Cleaning dirt, dust, and stains from the walls gives a smooth finish. Clean walls prevent any debris from getting trapped under the paint.
- Protect the nearby surfaces: Covering floors, furniture, and fittings protects them from accidental paint spills and drips. This saves time and effort later on when cleaning up and prevents damage to the surrounding area.
- Makes the paint durable: Preparing the room makes the paint last longer and resistant to wear and tear; thus, your newly painted room stays fresh for a long period of time.
A step-by-step guide to prepare your room for painting
Gather the materials required
- Plastic sheets, newspapers or old bedsheets
- Painter’s tape
- Broom or vacuum cleaner
- Damp cloth
- Mild detergent
- Spackling compound or putty
- Putty knife
- Primer
- Brushes and roller
- Sandpaper or sandblock
Clear the area and protect the surroundings
Start by removing all the furniture, rugs, decorations, and fixtures from the room. Cover the non-movable items with a plastic sheet or old bedsheet. This will provide you with enough space and protect your belongings from accidental paint drips and damage. Take off switchboard plates and outlet covers, and cover exposed outlets with painter’s tape for safety.
Cover the floor as well with newspapers or plastic sheets to protect them from paint spills. Secure the ends by placing some heavy objects to prevent them from moving while you paint.
Clean the walls
Layers of dirt, dust, stains and grime can build up on walls. Painting over them without cleaning will surely make the walls look unattractive. Remove any dust, dirt, or cobwebs using a broom or vacuum cleaner. You can use a ladder or a stool to reach the higher areas. Clean the walls using a damp cloth. For stubborn stains, gently wash the walls with a mild detergent and warm water solution. Before proceeding, let the walls dry completely.
Repair the imperfections
Wear a mask and eye protection to prevent inhaling or getting dust in your eyes.
Check the walls for any cracks, holes, or imperfections. Use a spackling compound or putty and fill it in these areas, then use a putty knife to smoothen them out. For larger holes, use a mesh tape or patch kit before applying the spackling compound. Once it is dry, sand the covered areas lightly using a sand block or sandpaper for a smooth finish. Remove any remaining dust from the walls with a damp cloth.
Prime the walls
The next step is to prime the walls. Priming helps the paint adhere to the surface instead of sinking into the wall. Primer prevents the existing paint and stains from showing through the freshly painted wall. Primer creates a smooth and even surface for the paint, increasing its durability.
Apply the primer with a paintbrush around the trim and baseboards, and for the major portions, use a roller or a brush to apply it evenly over the wall.
Apply masking tape
Masking tape or painter’s tape helps to create straight lines and protect the areas that you are not going to paint. Masking tape can be removed easily without peeling or damaging the surface
Make sure you tape the outlets, trim, floor, ceiling, window frames and doors. Carefully tape around the edges of the wall you will be painting to ensure that the paint is applied evenly and securely. Press down firmly to seal the tape to the surface and prevent the paint from bleeding or peeling.
Your room is now prepared to be painted on. These precautions will help you protect your surroundings and have a long-lasting and smooth finish on your walls.
FAQs
Why is it necessary to prepare a room before painting?
Preparing a room before painting ensures better paint adhesion and a smoother finish, and helps to protect your surfaces from spills and damage.
Why should I remove the furniture from the room when I can simply cover it?
Removing the furniture makes your painting process easy. You can easily paint the walls because there will be no obstructions, and this will protect your furniture from damage.
Is priming the walls necessary?
Primer facilitates better paint adhesion and prevents the old stains from showing through the new paint.
Should I remove the nails from the walls?
Yes, you should remove the nails from the walls. Use putty or spackling compound to patch the holes and sand them for a smooth surface.
Do I need to sand the wall before painting?
Sanding helps to smooth rough surfaces and gives the paint a flat, even surface to adhere to.
How should I store the frames and decorative pieces?
You should bubble wrap the fragile objects as this will protect them from any damage during the painting process.
How do I protect the switches and outlets?
Cover them with painter's tape to protect them from paint drips or splatters. If possible, remove the outlet covers and switch plates.
Is it okay to paint over the wallpaper?
Painting over wallpaper is not recommended as the paint will not adhere properly, and it is possible that the paint might peel off.
How do I remove the wallpaper?
Try to peel the wallpaper from a corner. To gently lift the wallpaper edge, use a wallpaper scraper or putty knife. Spraying it with water will make it easier to remove. If the wallpaper is stubborn, consider using a wallpaper adhesive remover.
Are there any precautions to follow?
Put on a mask and safety glasses to shield your eyes from dust. Make sure that the room is well-ventilated. While moving heavy furniture, make sure you lift it with your legs and not with your back.
| Got any questions or point of view on our article? We would love to hear from you. Write to our Editor-in-Chief Jhumur Ghosh at [email protected] |
Housing News Desk is the news desk of leading online real estate portal, Housing.com. Housing News Desk focuses on a variety of topics such as real estate laws, taxes, current news, property trends, home loans, rentals, décor, green homes, home improvement, etc. The main objective of the news desk, is to cover the real estate sector from the perspective of providing information that is useful to the end-user.
Facebook: https://www.facebook.com/housing.com/
Twitter: https://twitter.com/Housing
Email: [email protected]


