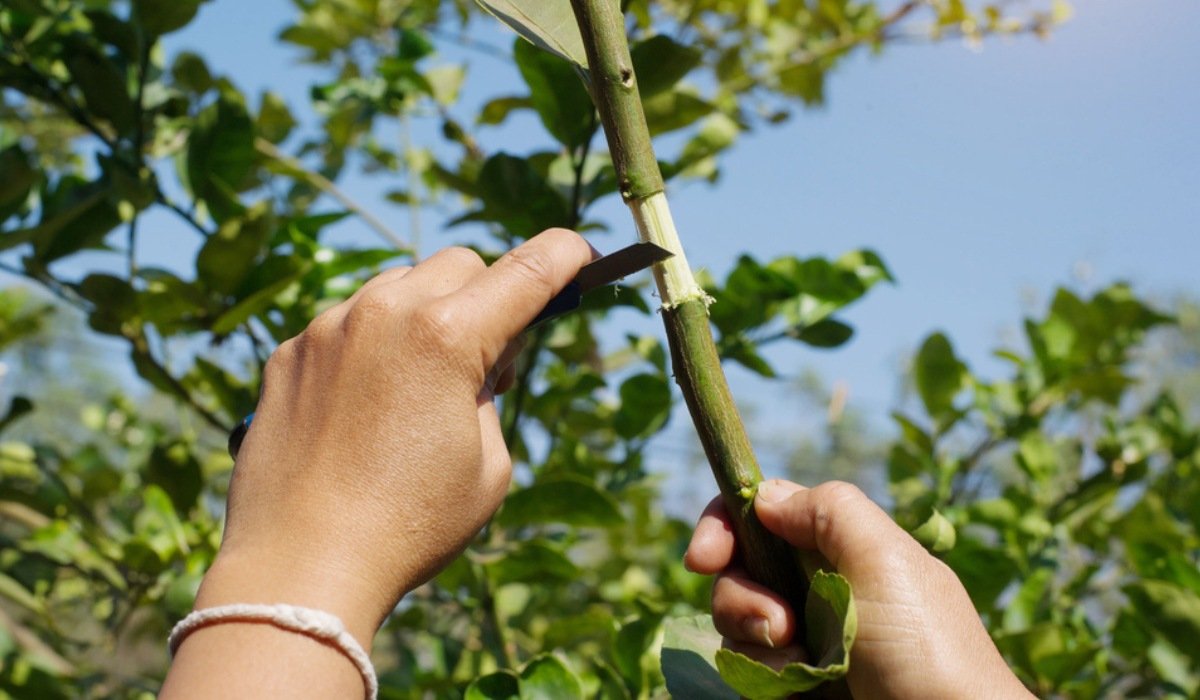
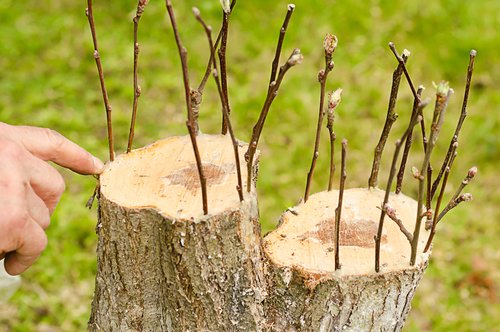
Grafting plants use the roots and the bottom half of one plant (rootstock) and connect it to a delicate branch (scion) from the top portion of another plant, as opposed to cross-pollinating two plants and creating a hybrid seed. It is frequently done with trees and shrubs to mix the most exemplary traits of the two species. Over the past few years, grafting heritage species have gained popularity, allowing gardeners to enjoy the authentic flavor while boosting disease resistance and yield.
What is grafting?
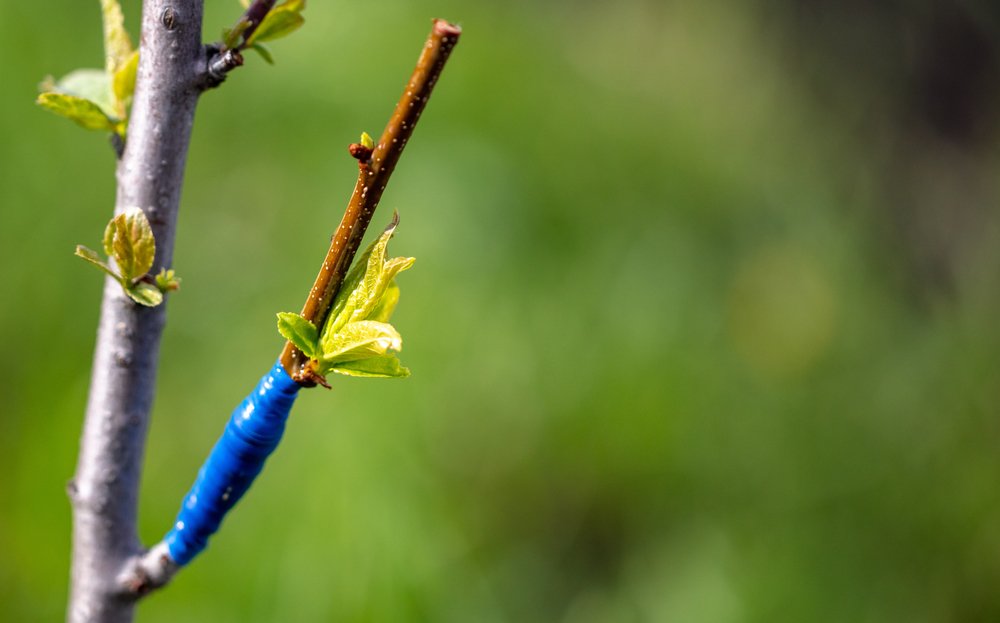
One plant is created from two others using the grafting plants procedure. For the tissues of each plant to develop together, a wound is often made on one plant. The damage must be covered while it heals to keep infections and insects out of the graft.
Why grafting?
Making a dwarf specimen
A shorter, smaller tree is simpler to pick the fruit from and is a better choice to grow in a home garden.
Better quality plants
Grafting and merging the rootstock and scion can aid in disease resistance and hasten the development of fruit and blooms.
New varieties
By grafting plants and trees, it is possible to create new types that, for instance, produce more fruit per tree or are more resistant to insects and diseases.
Improved pollination and cross-pollination
- Some fruit trees can’t pollinate themselves; they need another fruit tree, generally one of a different kind, to do so. Cross-pollination is the term for this action.
- Other factors can be employed to pollinate specific branches or entire trees to ensure fruit set. A neighboring male (staminate) plant is necessary for the female plant to produce quality fruit.
- Where this isn’t possible, grafting a stem from the male plant to the female plant can improve the likelihood of cross-pollination.
Benefit from certain rootstocks
- Some rootstocks provide better growth patterns, disease and drought tolerance, and insect resistance than the selected scion.
- The French crab apple can increase resistance to hairy root and crown gall when used as a rootstock for commercial apple varieties.
Interlocks benefits
- An interlock might be extremely helpful when the rootstock and scion are incompatible. Any interlock that works with both scion and rootstock is employed in these situations.
- The scion’s cold hardiness and disease resistance may be improved using an interlock. Additionally, plants can be doubly manipulated to affect a scion’s blooming and fruiting or to transmit dwarfism.
Restore damaged plants
- Large trees or specimen plants are readily harmed at or just above the soil level. Maintenance tools (such as lawnmowers, trenchers, or construction equipment) and illness, rats, or winter storms may be to blame for the damage.
- By planting numerous seedlings of the same species all around the damaged tree and grafting them above the damage, the damage is frequently repairable. It is also known as approach grafting, bridge grafting, or inarching.
Virus index
Although the symptoms aren’t often evident, many plants can contain viruses. Therefore, by grafting scions from the suspect plant onto another one that is extremely sensitive and will exhibit noticeable symptoms, it is possible to determine if the virus is present or not in the suspect plant.
When to graft?
Grafting plants is mainly done in the early spring and winter, while the rootstock and scion are still inactive, in contrast to budding, which may be done before or during the growth season.
- During the actual procedure, containerized plants may be transported indoors; following grafting plants, the plants are kept in sheltered places or unheated, overwintering homes.
- Of course, field-grown stock needs to be grafted in. Several deciduous plants are frequently grafted as completely bare rootstock over the winter to keep them till spring planting.
- Because it is carried out on a bench, indoor grafting is sometimes referred to as the bench technique.
What plants can be grafted?
- Fruit trees like apple, cherry, and citrus, as well as other trees like birch, beech, ash, spruce, and cedar variants, are just a few of the numerous types of plants and trees that may be grafted.
- Vegetable and flowering plants can also be grafted; especially tomatoes and roses are popular grafted plants.
- However, not all plants can be grafted. For it to function correctly, it must be compatible with both the rootstock and the scion. Plants from the same genus and species thrive better than other genera.
see all about: garden roses plants
Types of grafts
Bark grafting
Bark grafting is mainly used to top-work fruit and flower plants. In contrast to cleft grafting, this method may be used on rootstock with a diameter of 4 to 12 inches. It usually starts in the early spring when the wood begins to sap heavily.
- Getting the stock ready
Create a vertical incision through the bark starting at the cut surface of the rootstock so that each scion may be placed (2 inches long and spaced 1 inch apart).
- Getting the scion ready
Prepare numerous scions for each graft as multiple scions are often put around the cut surface of the rootstock. Each scion’s base should only have one side cut into a 1 to 2-inch tapering wedge.
- Putting the scion in
The scion should be inserted with the bark somewhat looser, with the wedge-shaped tapering surface of the scion resting on the exposed wood behind the flap of bark. Replace the bark flap, firmly press the scion against it, and fasten it in place with one or two wire brads pushed into the rootstock through the bark. Insert a scion every three to four inches along the cut edge of the rootstock.
- Keeping graft safe
All exposed surfaces should be covered with grafting paint or wax. When the scions start to grow, only the strongest one should be left on each stub; the others should be pruned away. Bark grafts typically require staking or support during the first few years because they frequently create weak unions.
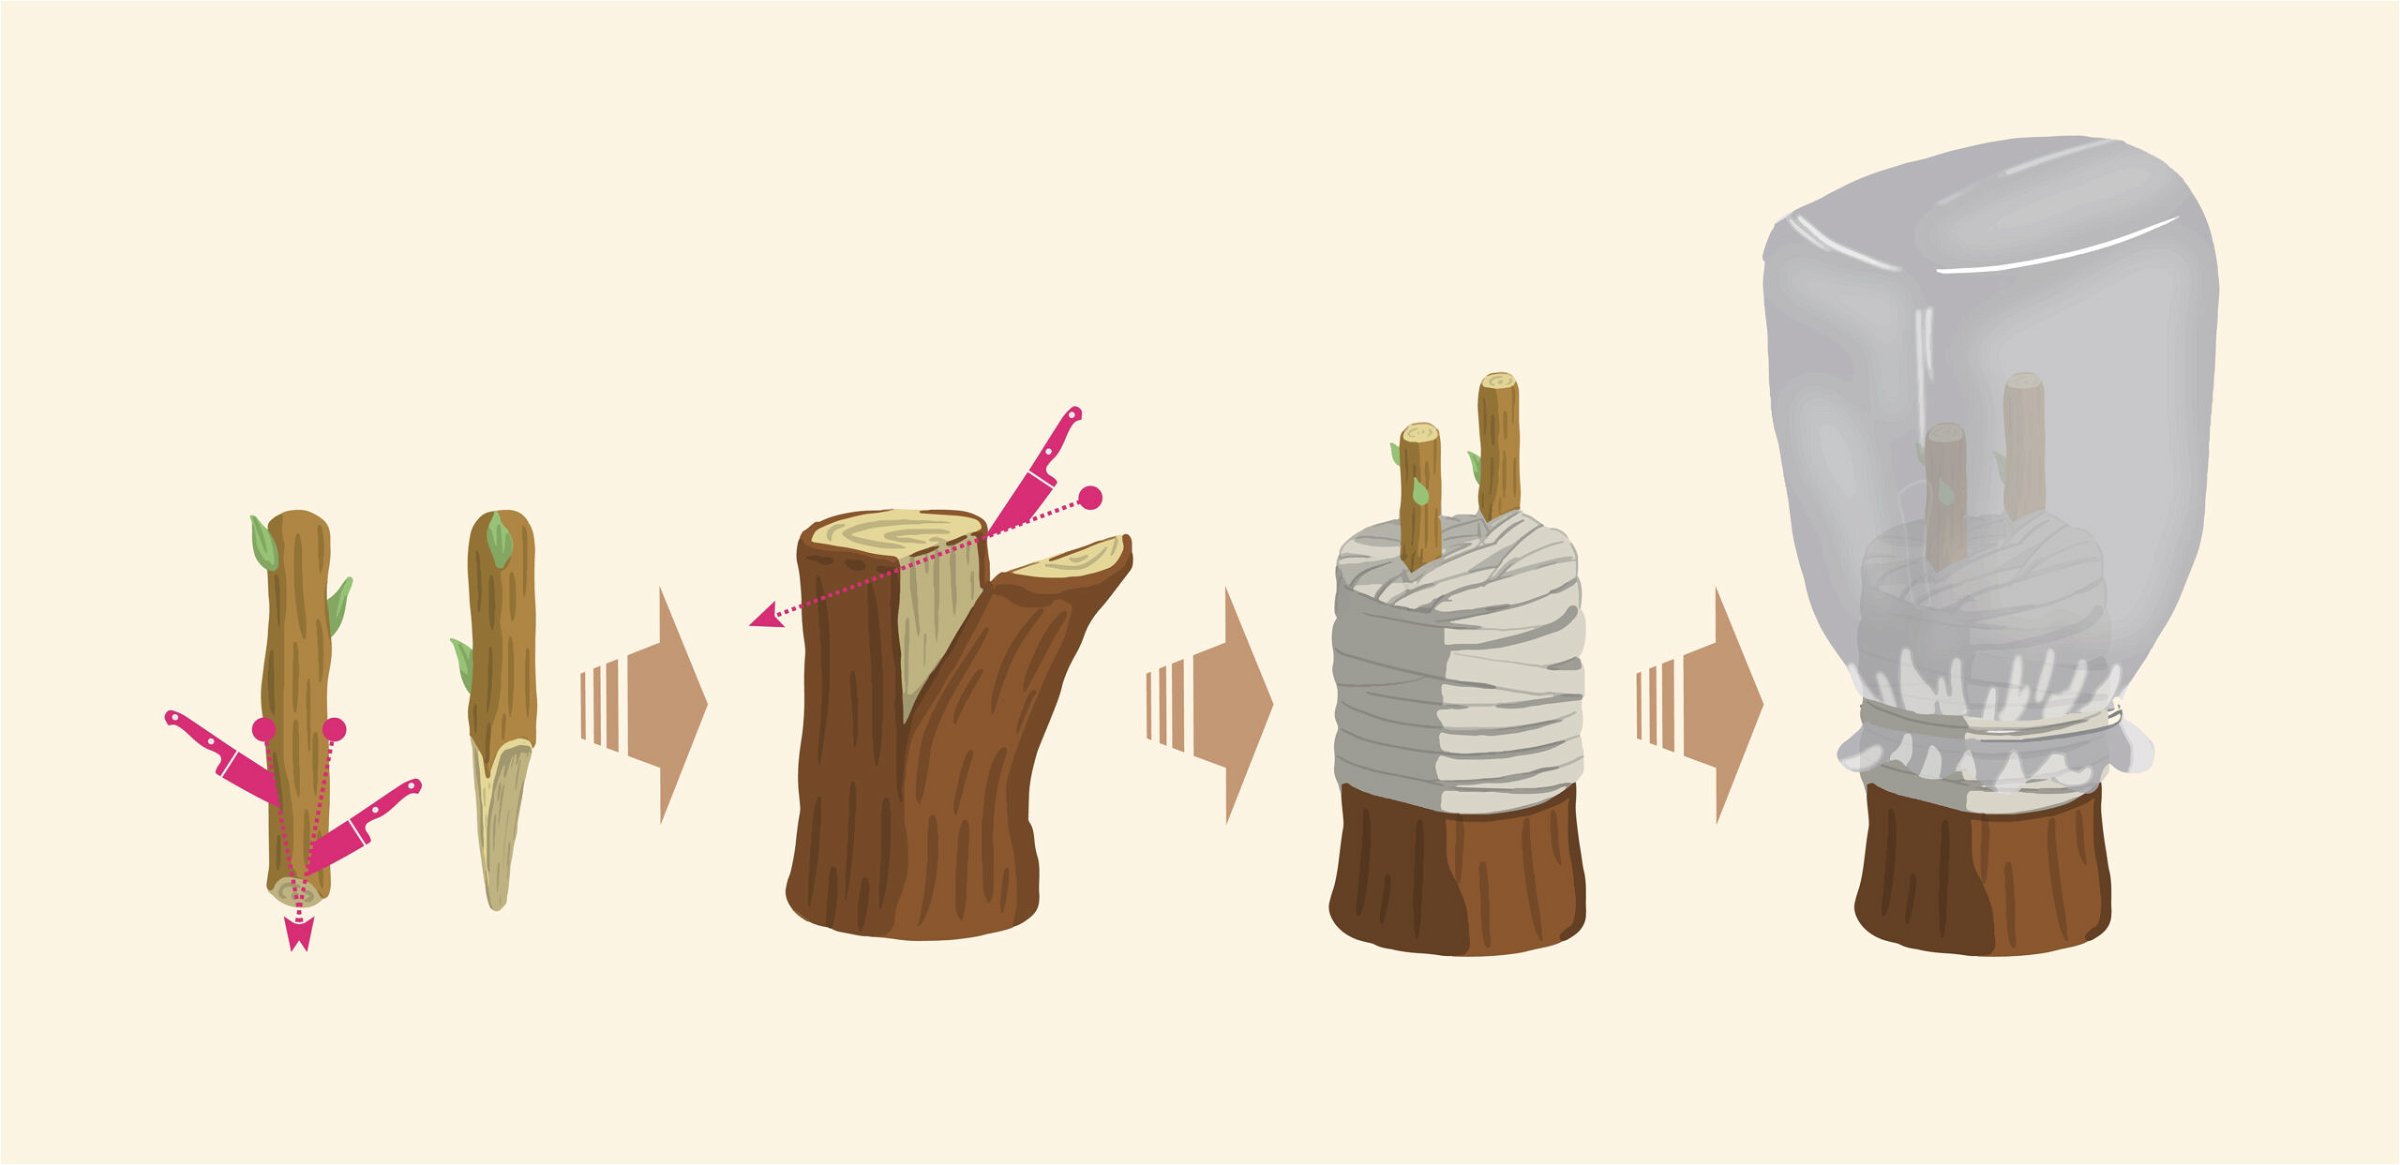
Cleft grafting
Cleft grafting, the most straightforward and well-liked way of grafting, is a process for up-working both fruiting and flowering trees (apples, cherries, pears, and peaches) to switch kinds. When the rootstock and scion are still inactive, this form of grafting technique is often done in early spring and winter. The scaffold branches, lateral branches, or main stems may all be used for cleft grafting.
In the cleft grafting plant technique, the straight-grained stock having a size of 1-4 inches is selected. The scion must be aligned, around fourteen inches in size, and lengthy enough to be having 3 buds minimum. Typically, scions between six and eight inches in length are the easiest to utilize.
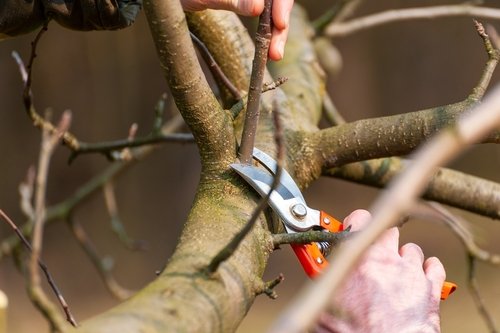
- Getting the stock ready
- The stock must be removed using a saw with a smooth, clean cut parallel to the significant stem axis that will receive the graft.
- Make a “cleft” or split across the middle of the stem and down two to three inches using a grafting tool wedge and a mallet.
- To hold the stock open while inserting the scion, remove the wedge from the clefting tool and place the tool’s pick end into the middle of the freshly formed cleft.
- Getting the scion ready
- Prepare two scions for each graft as a single scion is typically put into each cleft end during cleft grafting. Choose scions with 3-4 healthy buds.
- Start at the end of the bud, which is lowest, and make two opposite smooth-tapered incisions one to two inches in length, moving toward the end of the basal of the stem, using a sharp, clean grafting knife.
- Slice the side with the most miniature blossom a little bit thicker than the other side. Make sure the scion’s basal end progressively tapers off on both sides.
- Putting the scion in
Place a scion on either end of the aperture by positioning the broader wedge side outward. Each scion’s cambium must contact the rootstock’s cambium.
- Keeping the graft safe
- For the rootstock to close, remove the clefting instrument from the aperture. The rootstock’s pressure will keep the stem in place.
- To keep out water and avoid drying, completely seal all sliced areas with grafting paint or grafting wax. One scion will often develop more quickly than the other if both stems in the graft “take.”
- Select the stronger scion and remove the inferior ones after the initial growing season.
Splice grafting
To attach a scion to the rootstock stem or a complete root, utilize splice grafting. This straightforward way is typically done on plant stems with a diameter of around twelve inches or herbaceous materials that callus or “knit” quickly. Both the scion and stock in splice grafting plants must have a similar diameter.
- Getting the stock ready
Use a 34- to 1-inch-long diagonal cut to remove the rootstock. Then, make the same kind of incision at the scion’s base.
- Getting the scion ready and putting it in
Match the stock to the scion. Use twine or a rubber grafting strip to wrap this junction tightly.
- Keeping The Graft Safe
Use grafting wax or grafting paint to seal the connection. Only lightly mist the rootstock until the graft knits. Overwatering might “drown” the scion in sap. As soon as the graft has healed, remove the string or strip.
Side-Veneer graft
This type of grafting plants is now the most used way of grafting the conifers, particularly one with a compact or dwarf shape. The side-veneer graft is frequently done on a potted rootstock.
- Getting the stock ready
- During the season earlier to grafting, the rootstock is cultivated in pots, let to become inactive, and then kept like other container stock.
- Rootstock is then taken into a cold greenhouse some days earlier to grafting to promote new root development after exposure to cold weather for at least six weeks. Watering the plant should be avoided during this time.
- At the end of the stock on the planted rootstock, make a shallow downward incision between 34 and 1 inch long to reveal a flap of the stem with some wooden material still attached. To remove the part of wood and bark from the stock, make an inward incision at the base.
- Getting the scion ready
Select a scion whose diameter is equal to or slightly less than the rootstocks. Make a tilted incision at the base of the scion between 34 and 1 inch in length.
- Putting the scion in
Place the scion’s cut surface up against the rootstock’s cut surface. Make sure the cambia are in touch with one another.
- Keeping the graft safe
A grafting twine, tape, or rubber strip can be used to secure the scion in place. With heated grafting paint or grafting wax, the entire graft area is sealed. After the system has healed, cut the rubber or twine, and never let the stem get girdled by the binding substance.
Saddle grafting
Once understood, saddle grafting is a reasonably simple method that can be carried out quickly. Use this grafting on the inactive stock mid-winter for the most outstanding results. The stock diameter isn’t supposed to be more than an inch.
- Getting the stock ready
Serve the top from the rootstock by making two opposed upward strokes with the grafting knife. The finished cut should have a surface between 12 inches and 1 inch long and resemble an inverted V.
- Getting the scion ready
To prepare the scion’s basis, use the process in reverse now. For the maximum amount of cambial tissue to make contact when the two parts are connected, these incisions on the rootstock and scion must have the same length and slope.
- Putting the scion in
Affix the V-notched scion to the rootstock’s saddle. Cambial alignment is more straightforward if the rootstock and scion have the same diameter; otherwise, make any necessary adjustments.
- Keeping the graft safe
Before sealing the graft with grafting wax or grafting paint, wrap it with grafting twine, tape, or a strip.
Whip and tongue grafting
The most typical applications for whip and tongue grafting are the grafting of woody ornamentals or nursery crops. The diameter of the scion should not exceed 12 inches, and the scion and rootstock should be similar in size.
To ensure that the two can form a strong graft union, these incisions should be performed with one pull of the grafting knife and have a plain surface. Scion and rootstock are cut similarly as in splice grafting up until this stage.
- Scion and stock preparation
- Cut the stock off at a diagonal angle. The incision should have a length of 4-5 times the stock diameter being grafted. Make a similar type of incision at the scion’s base.
- Next, position the knife blade so that it is midway between the bark and pith on the sliced end of the given stock (on the upper end of the surface). Draw the knife blade to the core and wood angle with a single motion.
- At the end of the first diagonal cut, halt. This other cut should parallel the initial one rather than go with the wood’s grain.
- Putting the scion in
The scion should be prepared similarly. So that the whip & tongue are interlocked, insert the scion into the rootstock. Again, make sure the cambia is straight.
- Keeping the graft safe
The connection should be covered with grafting tape or string and sealed with grafting paint or wax. Never let the stem get girdled by the binding substance.
Inarch grafting
- Like bridge grafting, inarching supports or goes around a plant stem’s weak or damaged section. In contrast to bridge grafting, the scion can be an existing shoot, water spout, or sucker that is already expanding above and below the damage.
- The scion might also be a shoot from the same species as the injured plant developing close to the tree’s main trunk on its root system.
- The scion’s tip is grafted above the damage using the inarching technique like bark or bridge grafting.
Bridge grafting
Bridge grafting is utilized to “bridge” a shrub’s sick or damaged parts, often at or close to the trunk’s base. Rodents, freezing temperatures, disease organisms, or involvement with grading or lawn-care machinery are some typical causes of this type of damage. The grafting bridge acts like a pipeline for minerals and hydration to pass through the injured region while also providing stability.
Grafting bridges are often performed in the early spring, shortly before the start of vigorous plant development. They can be carried out whenever the wounded plant’s injured bark “slips.”
- Getting the stock ready
Choose straight scions, which usually are roughly twice if the damaged region must be bridged. Then, at either end of the scion, draw a 1- to 2-inches length tapering carved in a single plane.
- Getting the scion ready
Remove any damaged tissue to ensure the transplant is done on healthy stems. Next, make a flap of bark with the same scion width below the injured area on the rootstock. Gently removing the flap opposite the stock by folding it will prevent ripping the bark flap.
- Putting the scion in
- The scion should first be inserted and secured below the wound; press it with a cut under the scion flap resting on the part of the hurt stem.
- Then repeat these techniques to place the scion over the injury and fasten it. Incorporate the scion tightly. As with bark grafting over the scion, raise the flap and secure it in place.
- Insert the scions with a slight outward bend when grafting immature stems that could sway with the wind. Over the injured region, the grafting bridge should be placed around 3-4 inches away.
- Keeping the graft safe
All graft locations should be secured with heated paint or wax. Avoid any shoots or buds appearing on the stems during and after the healing process.
Tips for grafting
- Grafted plants must be planted with caution. The rootstock or scion can produce top growth or roots if the graft connection is buried underneath.
- You lose the qualities that were chosen when the plant was grafted when that occurs. From rootstock sprouts, a Granny Smith apple tree may begin to produce red apples that are difficult to identify.
- The rootstock needs some winter care in other cases, such as with many grafted roses.
- Because of this, it is advised that gardeners in cold climates cover the graft in the late fall and remember to expose it in the spring to prevent the rootstock from sprouting.
Disadvantages of grafting
- Grafting plants can only be successful when skilled employees are employed.
- This approach also requires a lot of time and work.
- Even so, the effectiveness of the grafting hinges on choosing plants that are closely related.
- The grafting method can only create a certain number of plants.
Conclusion
By grafting plants, the science and the art of gardening are united. Some scientific issues include comparability, toughness, timeliness, drought, disease and pest resistance, and tolerance. Learning the art of grafting requires numerous hours, if not years, of practice. A committed budding and grafting student may frequently require the direct supervision of an expert propagator to master this skill.
FAQs
Is grafting possible for fruit plants or trees?
Fruit trees have been reproduced by grafting for at least a few thousand years. Grafting is done for two main reasons: most fruit trees don't germinate from seed (grafting examples, McIntosh apple seeds won't produce McIntosh trees), and cuttings are difficult to root.
What diseases could impact a healthy graft?
Fusarium wilt, bacterial wilt, verticillium wilt, monosporascus root rot, and nematodes are some of the primary disease issues that grafting helps to solve. In addition, grafting has occasionally improved a plant's resistance to foliar viruses, insects, and fungal disease
Which is the best season to start grafting?
Right before growth begins, spring is the optimal grafting period. However, if you have dormant scion wood in storage and the weather is not excessively warm, grafting can commence several weeks before development is anticipated and can continue a few weeks after growth has begun.
What is a grafting knife?
In contrast to other knives, graffiti knives have razor-like, thin, and sharp blades that are only slightly beveled on one side. It allows the knife to be readily cut through rigid, woody material with a flat cut that gives the maximum amount of contact in the completed graft.
Saswat Kumar, a real estate writer, keeps up with the latest trends in residential real estate. He simplifies complex real estate jargon, making it accessible to all. Saswat’s data-driven analysis empowers buyers and investors to make informed choices in the housing market.
Related Posts

Tropaeolum Majus: Facts, How to aGrow and Care Tips.
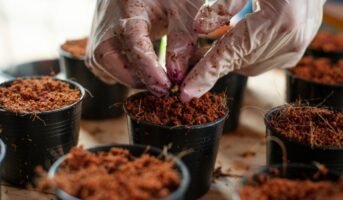
What is coco peat? What are its uses and benefits?.

How to grow and care for Haworthiopsis Limifolia?.
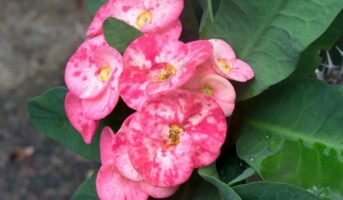
Crown Of Thorns: Facts, How to Grow and Care Tips.

Everything about pH of soil.
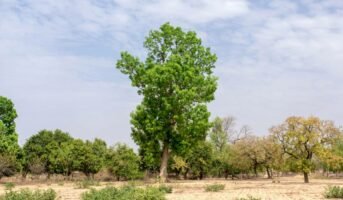
Khaya senegalensis: Plant the senegal mahogany in your backyard.