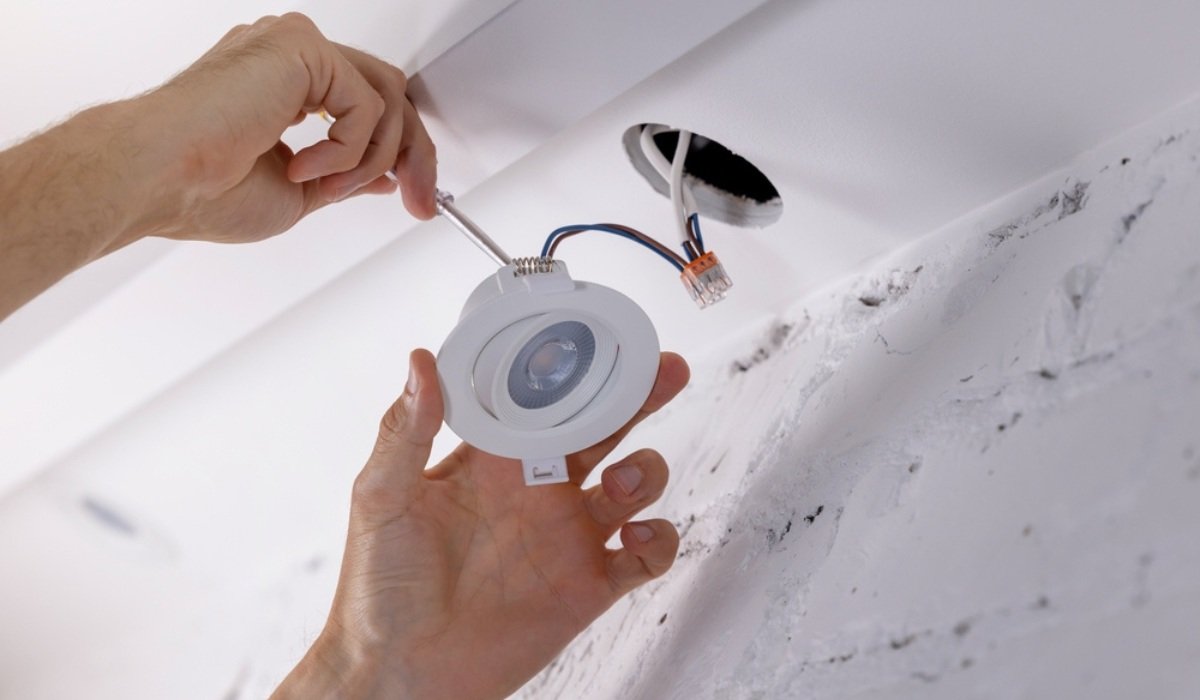
Recessed lights provide functional yet subtly concealed ceiling lighting. Also referred to as ‘can lights’, these fixtures serve purposes, such as creating a warm ambiance, accentuating home décor, or task illumination. Whether for new construction or renovations, installing recessed lights is always a great choice. Check the process of installing recessed lights to add a touch of elegance and functionality to your space.
See also: How to install vanity lights?
How to install recessed lights?
Here’s the step-by-step process for installing recessed lighting in your home.
Step 1: Shut down the power
- Switch off the wall switch in the room to ‘off’ position.
- Deactivate the power of the room from the circuit breaker box or main fuse. If individual room power shutdown isn’t possible, turn off the entire house’s power supply.
- Employ a voltage tester to ensure no electric current is present in wires.
Step 2: Cut a hole in your ceiling
Start the installation by finalising the placement of your recessed lights. Mark the designated spots precisely before making any holes.
- Utilise the template provided in your light kit to outline each opening’s shape.
- Verify with a stud finder that holes won’t intersect with a joist.
- In the centre of the planned opening, drill a 0.25-inch hole in the ceiling.
- If needed, access the attic to ensure no wires, ductwork or pipes obstruct the intended opening.
- In a finished ceiling space, you can insert a fish tape or coat hanger through the hole to detect any barriers.
- Using a drywall saw, carefully cut out the larger hole and mark all light locations.
- Make sure to avoid catching any wires that might be present in the ceiling cavity.
Step 3: Rough-in the wiring
If you’re replacing an existing light fixture, ensure it’s disconnected before starting the process of wiring recessed lights.
- Extend NM-B cable between the power source and a switch box, then extending it to the initial hole. Leave around 18 inches of extra cable to facilitate the wiring process.
- Extend the cable from the first hole to the next one, then on to the next, continuing this pattern until you reach the location of the last recessed light.
Step 4: Wire the recessed light
- Access the junction box of the light fixture.
- Introduce cables into the box and secure them with clamps.
- Utilise a wire stripper to remove a few inches of the insulation from the cable to expose the inner wires.
- Using the wire stripper, remove approximately 1/2-inch of insulation from all wires.
- Connect wires of the same colour using wire connectors approved by UL. Ensure a consistent match: white to white, black to black and ground to ground.
- Gently arrange the wires inside the box and then reattach the cover.
Step 5: Install the light fixture
- Majority of recessed light housings come with four clips designed to secure the can to the ceiling by pressing down on the drywall’s top.
- Retract the clips to ensure they don’t extend beyond the can.
- Insert the can’s enclosure into the hole, and then elevate the can body upwards into the hole until its flange fits snugly against the ceiling.
- Using your thumb to press each clip upwards and outwards until it clicks into place and secures the light fixture.
Step 6: Attach the trim
Typically, recessed light trims are attached using compressible rod springs or coil springs.
- For coil springs, attach each spring to its designated hole within the can.
- Extend each spring and link it to the trim, then gently guide the trim into place.
- If rod springs are used, compress, and insert both ends of each spring into their designated holes.
- Push the trim upwards to secure it in place.
Step 7: Install the bulbs
Once the trim is in place, insert the light bulbs of your choice. Then, restore the power and verify that lights are functioning properly.
FAQs
Can I install LED recessed lighting in the ceiling by myself?
Yes, if you have a nearby power source, you can install LED recessed lighting in the ceiling on your own. However, if a power source needs to be added, it could extend the project timeline. This can be done by either wiring your own circuit or enlisting the help of an electrician.
Where can I install recessed lighting?
While recessed lighting is commonly installed between ceiling joists in new construction, you can retrofit recessed lighting in various areas throughout your home. This flexibility allows you to add this type of lighting to existing space.
What are the alternatives to recessed lights?
If you're looking for alternatives to recessed lights, there are several options that can enhance the aesthetics of your home. Consider modern semi-flush ceiling lights, as well as styles like disc lights, tube lights, pendant lights, and track lights. These alternatives offer a variety of designs to suit your preferences and elevate the look of your space.
Do I need a professional for installing recessed lights?
While recessed light installation can be done by yourself, it’s advisable to enlist a professional’s help if you are not comfortable working with electricity.
| Got any questions or point of view on our article? We would love to hear from you. Write to our Editor-in-Chief Jhumur Ghosh at [email protected] |

Dhwani is a content management expert with over five years of professional experience. She has authored articles spanning diverse domains, including real estate, finance, business, health, taxation, education and more. Holding a Bachelor’s degree in Journalism and Mass Communication, Dhwani’s interests encompass reading and travelling. She is dedicated to staying updated on the latest real estate advancements in India.
Email: [email protected]


