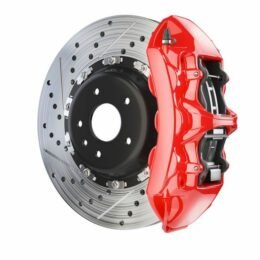
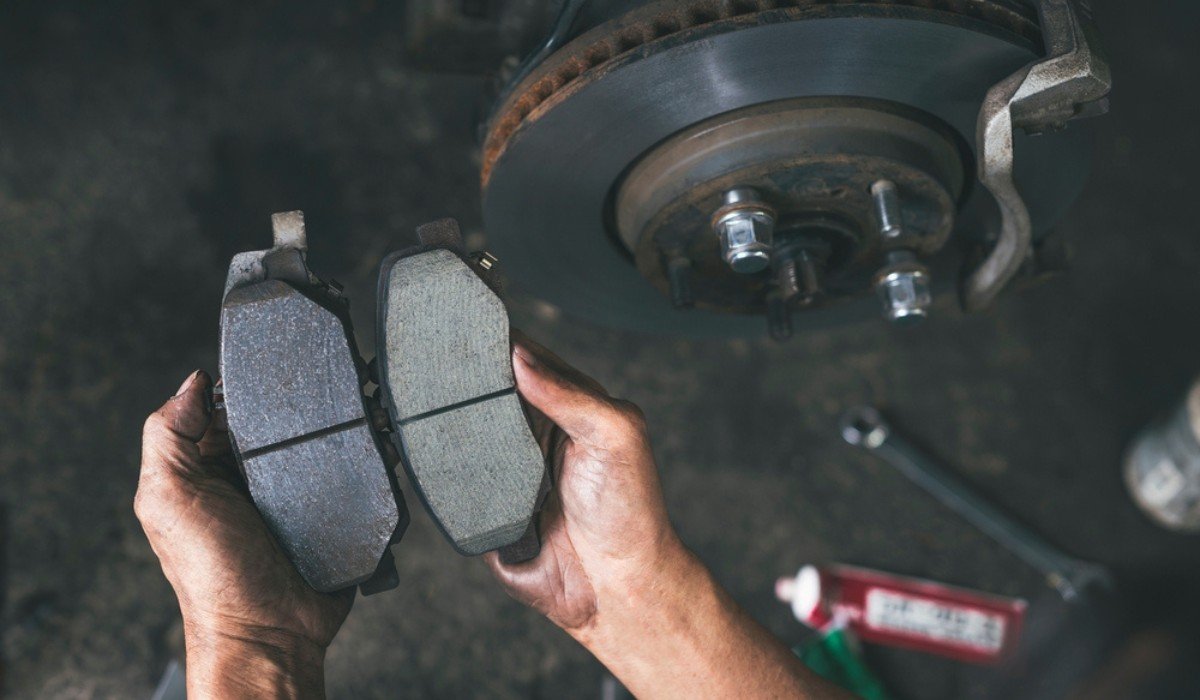
The brake pads of your vehicle must be regularly replaced because the friction they create leads to wear over time. The brake pads should be inspected annually or every 16,000 km, but depending on the quality of the brake pads, the driving patterns and the condition of other braking components, they typically need to be replaced after 32,000 to 60,000 km on average.
Changing brake pads: Process
To change brake pads safely, follow these step-by-step instructions.
Tip: To guarantee even and consistent braking performance, always replace the brake pads in pairs throughout the axle.
You will require
- Replacement brake pads for your vehicle
- If necessary, replace the brake discs.
- Sunglasses for safety
- Gloves for protection
- Axle stands as well as a trolley jack
- Set of sockets
- Spanners
- Brush with a wire
- Brace for the wheels
- The torque wrench
Step 1: Remove your wheel
Before beginning this procedure, remove the cap from the brake fluid tank to allow the pressure built up in the system to flow out. Wrap a piece of cloth or towel around the tank in order to catch any leaks that occur. Brake fluid, if not removed, can damage the paint on surfaces under the hood.
To access the brake pads, one must first remove the wheel. Use the brakes and, if possible, block the wheels to keep the car from moving when lifted. While your car is on the ground, remove the wheel cover and release the wheel nuts, if necessary.
Then, using a jack, lift the vehicle to the jacking points suggested by the vehicle manufacturer, the location of which can be located in the owner’s manual. Place axle stands under the car for further support.
The wheel can now be removed by simply removing the wheel nuts or bolts. Make sure the wheel nuts or bolts are in good working condition. To remove any rust, use a wire brush.

Source: Pinterest (oneprojectcloser)
Step 2: Remove the brake calliper
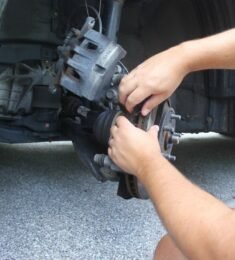
To remove the calliper, first release the guide pin bolt, which connects the calliper to the brake disc. Remove the guiding pin bolt using a spanner or socket and screwdriver. If it becomes stuck, you can release it with some releasing oil, but be careful not to get any on the surface of the brake disc.
Unbolt and swing the calliper free. The brake line will be pointed out if the calliper is left hanging. Instead, use knots or bungee wires to secure it.
Step 3: Remove the brake pads
Remove any clips that may be holding the brake pads in place and remove them from the calliper carrier now that the calliper is out of the way.
Step 4: Check the brake disc
Examine the state of the brake discs. If there is any heavy scoring, you must replace them as well.
Step 5: Apply grease to new brake pads
Remove any rust from the calliper carrier and its slides with a wire brush before applying Ceratec to the edges and where the rear plates come into contact with the calliper and its piston(s). Check that the friction material is free of grease.
Step 6: Fit brake pads
Install the new brake pads into the calliper carrier, ensuring that the friction material faces the brake disc and that the pad can move freely in both directions.
Remove and replace the brake calliper. New calliper holding bolts are included in some brake pad sets. If this is the case, always fit them with any pressure settings required to ensure they are properly tightened. Might need to force the calliper piston back into its cylinder to suit the new thicker brake pad. This may cause the brake fluid level in the tank to rise above the maximum. This is why the cloth is wrapped around it to catch any excess.

Source: Pinterest (Family Handyman)
Step 7: Test brake pads
After it’s been completed on both sides, push the brake pedal a few times to bring the brake pads up to the disc, then check and top up the brake fluid level as needed, removing the cloth and any leaked fluid.
Step 8: Refit the wheel
Check that the edges of the wheel and hub are clean and free of rust before refitting – a wire brush might help with this. After installing the new brake pads, put your wheel on the hub and tighten the wheel nuts or bolts by hand. Tighten the wheel with a wheel brace so that it can be rotated to ensure suitable positioning. Always follow the instructions in the owner’s manual.
Once your car is back on the ground, remove the axle stands and lower the jack, then completely tighten the wheel nuts or bolts and reinstall the wheel cover. To ensure that the wheel is properly tightened, use a torque wrench.
The brake pedal may feel different the first time you drive the car after replacing the brake pads. Because of the new friction material that comes in with the brake disc, it may feel spongier than before. It is essential to “bed in” new brakes for the first 100 kilometre by carefully applying the brakes, and extreme braking should be avoided during this time. Bedding in the brake pads will ensure that they operate properly and last as long as possible.
Tip: To avoid uneven braking, always replace brake pads in pairs across the axis (e.g., all front pads or all rear pads).
FAQs
How to detach the old brake pads?
Unbolt the calliper, slide out the worn pads from the bracket and detach the calliper from the rotor.
What’s the purpose of the metal clips on the brake pads?
Metal clips help secure the pads in place and reduce noise and vibrations.
How to lift the car safely for this task?
Use a jack to lift the car and secure it with jack stands for stability before working on the brakes.
What’s the impact of brake pad quality?
The higher-quality pads often offer better performance and durability.
How to install new brake pads?
Slide new pads into the calliper bracket, ensuring they align with the rotor’s surface.
| Got any questions or point of view on our article? We would love to hear from you. Write to our Editor-in-Chief Jhumur Ghosh at [email protected] |
Housing News Desk is the news desk of leading online real estate portal, Housing.com. Housing News Desk focuses on a variety of topics such as real estate laws, taxes, current news, property trends, home loans, rentals, décor, green homes, home improvement, etc. The main objective of the news desk, is to cover the real estate sector from the perspective of providing information that is useful to the end-user.
Facebook: https://www.facebook.com/housing.com/
Twitter: https://twitter.com/Housing
Email: [email protected]


